
This procedure will take you about 30 minutes and you can only do one iPad at a time, so be sure you exhaust all other troubleshooting options before beginning. You will need to connect the iPad to a laptop or desktop running the Mac or Windows operating system via a USB cable. If the computer is a Mac running macOS 10.15 or later, then you will use Finder to perform the restore; if it is an older version of macOS or it is using Windows, then you will use iTunes. If using iTunes, open iTunes and update it to the latest version before connecting the iPad.
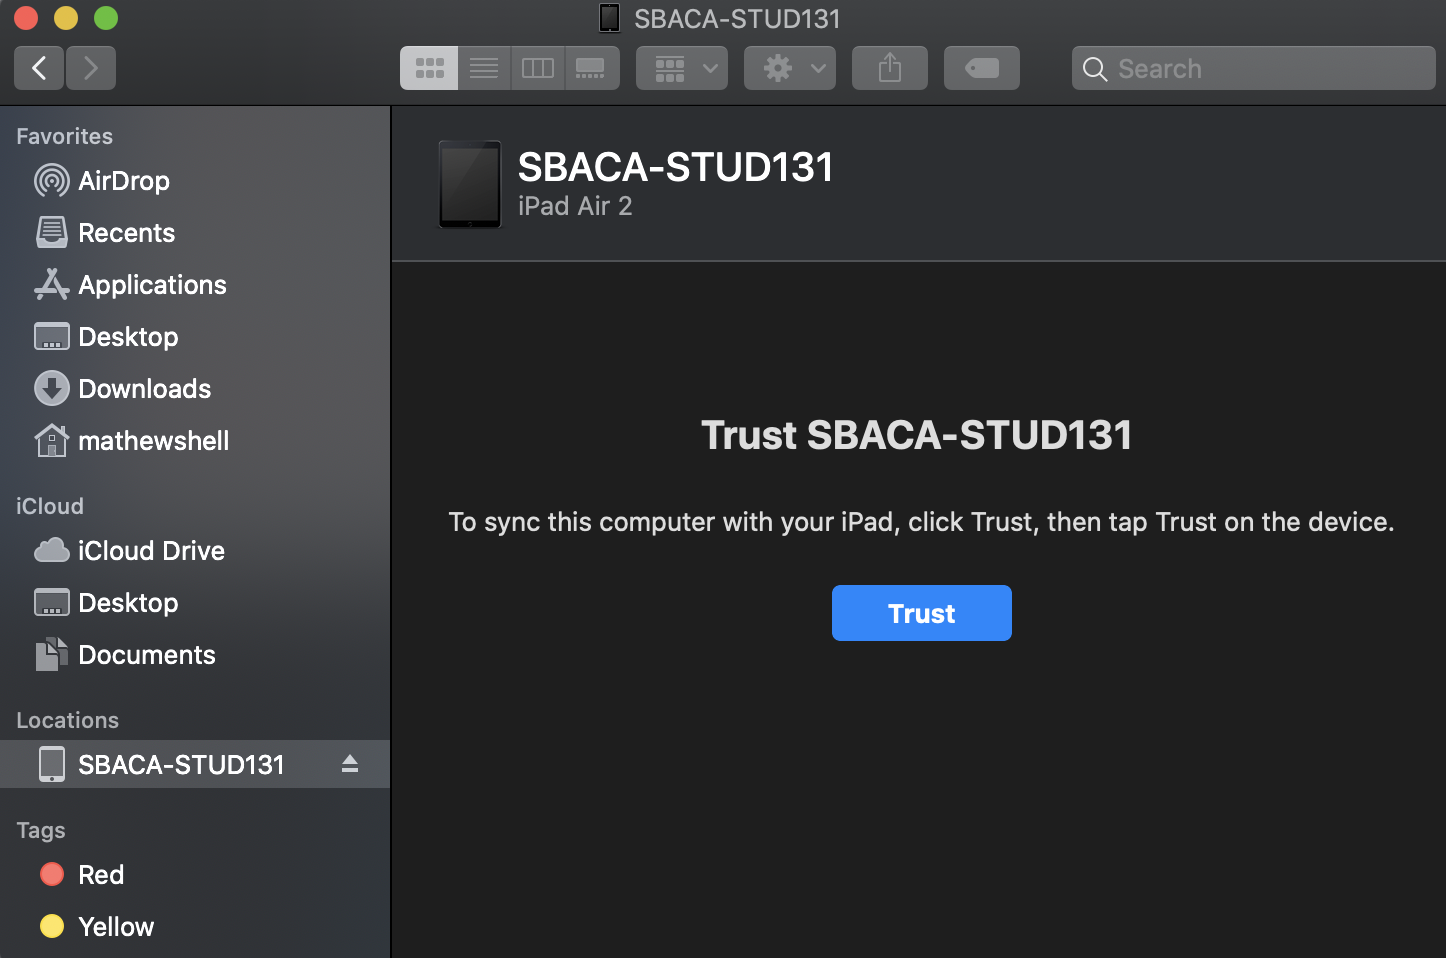
As soon as you connect the iPad to the computer, you will have to click a message on the computer saying you "Trust" the iPad; and there will be a similar message on the iPad asking you to confirm that you "Trust" the computer. You need to click/tap Trust at both messages. The message on your computer might be buried under other windows on your desktop, so if you don't see it right away, close out of as many other programs as possible.
The image below shows the Trust button on a Mac desktop in Finder.
The exact steps in the Restore process vary depending on your operating system, but most likely the computer will need to download the entire iPad software image before it can begin the restore and that will take at least 5-10 minutes (it could be much longer if you have a slow or highly utilized Internet connection). It might seem like nothing is happening while this is downloading, but if you look around on your desktop, you will probably find a slow-moving progress indicator showing how much of the download is remaining.
If you are having trouble initiating the restore, disconnect the iPad from the computer. Then power off the iPad. Then press and hold the home button on the iPad. While holding the home button, connect the USB cable. You should receive a prompt on the computer to Restore, and once that begins, then you can release the Home button.
It might ask you if you want to upgrade the iOS on the iPad and that is generally a good idea. If you are prompted, you should choose the option to Set Up As A New Device. It will probably ask you if you want to backup the iPad and you should say No (unless there is some data you really need to backup on the iPad). If you choose Yes to the backup, it will add an additional 10-20 minutes to the entire process.
This article provides additional info: https://support.apple.com/en-us/HT201252
Once the Restore is complete and the iPad is at the Hello screen, press the Home button and follow these steps:
- Select English as the language and United States as the Country. Then connect to a Wi-Fi network (if you use the cellular network the iPad might hang while installing apps and require you do Device Wipe again).
- Tap Continue or Next at the prompts. Choose Enable Location Services.
- When you get to the Home Screen, wait about 5 minutes for the Hub and other default apps to install.
- Open the hub app, tap I Understand (at the very bottom), then I Agree and login with the enrollment credentials (they are typically all CAPS).
- You may receive prompts asking you if you want to allow the Hub app to track your location; choose Allow or Always Allow.
- It will take between 10 and 30 minutes to finish installing all of the remaining apps. You can open the Catalog app to check the progress.